How To Guides
Expert advice from our experienced team on how to measure, choose, and install your blinds.
Measurement
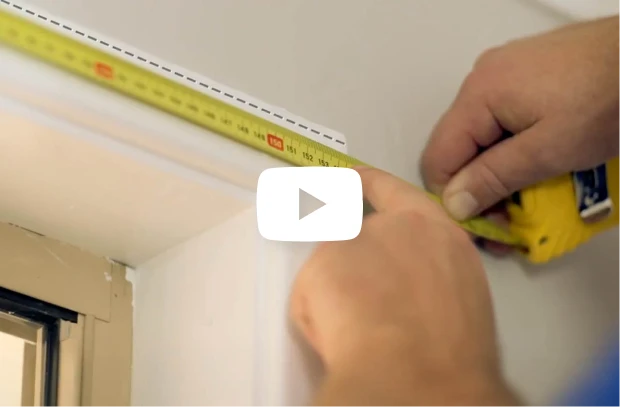
Measurement
How to Measure for Blinds & Shutters
Installation
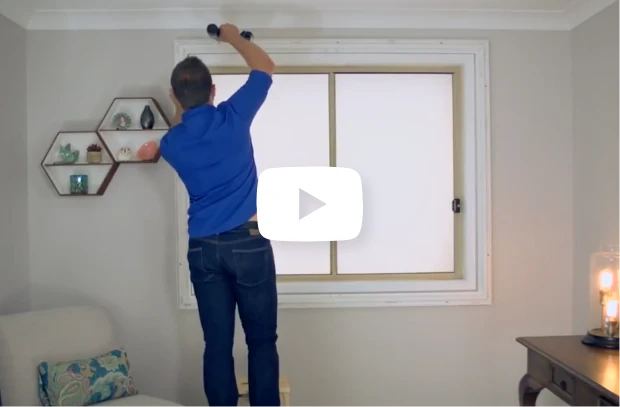
Installation
How to Install Plantation Shutters

Installation
How to Install Panel Glide Blinds

Installation
How to Install Roller Blinds

Installation
How to Install Roman Blinds

Installation
How to Install Venetian Blinds

Installation
How to Install Vertical Blinds
Curtains
Elevate your space with custom curtains, expertly crafted for style and function. From airy sheers to luxurious drapes, our premium fabrics, colours, and textures complement any home. Designed for warmth, privacy, and elegance, each piece is made to last and enhance your interiors.
Shutters
Our premium plantation shutters online are built for quality and longevity. The most versatile window furnishing, long coveted for their aesthetic appeal, acoustic and temperature control properties. Suited to both modern and traditional interiors, plantation shutters can be designed to blend with natural interiors or make a bold statement.
Blinds
Enhance your interiors with bespoke blinds, designed to suit any room in your home. Choose from classic Venetian to modern roller styles, offering optimal light control, privacy, and insulation. Crafted from the finest materials, our blinds combine style, function, and lasting durability.
Motorisation
Enhance your home’s convenience and style with our motorised blinds. Seamlessly integrated into any space, these products offer both functionality and elegance. Control your window coverings with a touch of a button or voice command, combining ease with modern sophistication.
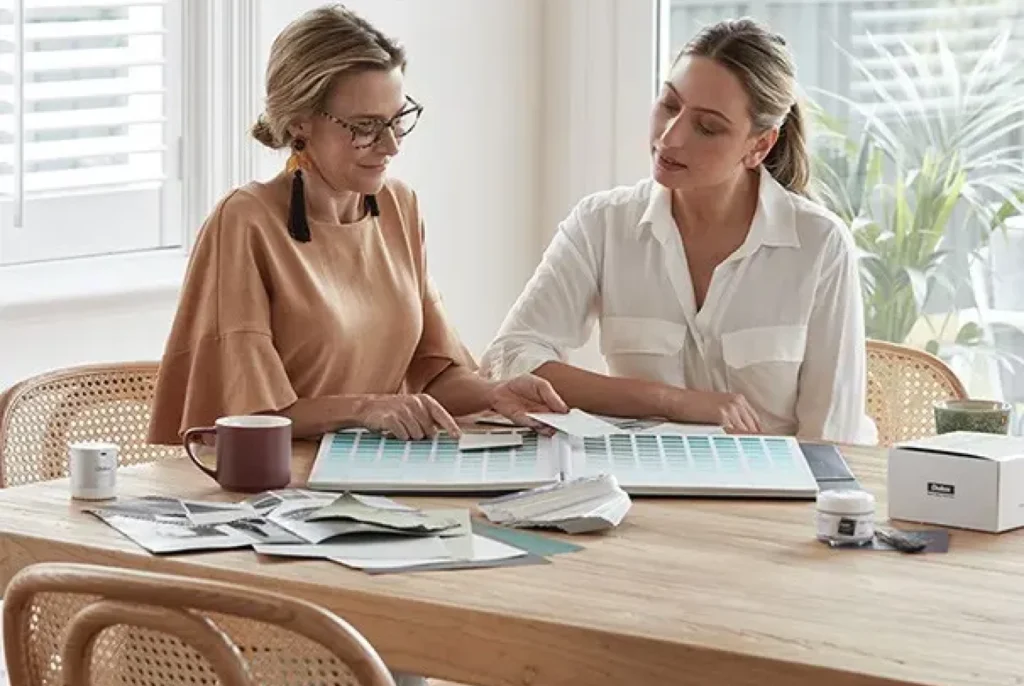
Feeling Inspired?
Talk to our team about how we can bring your vision to life.

